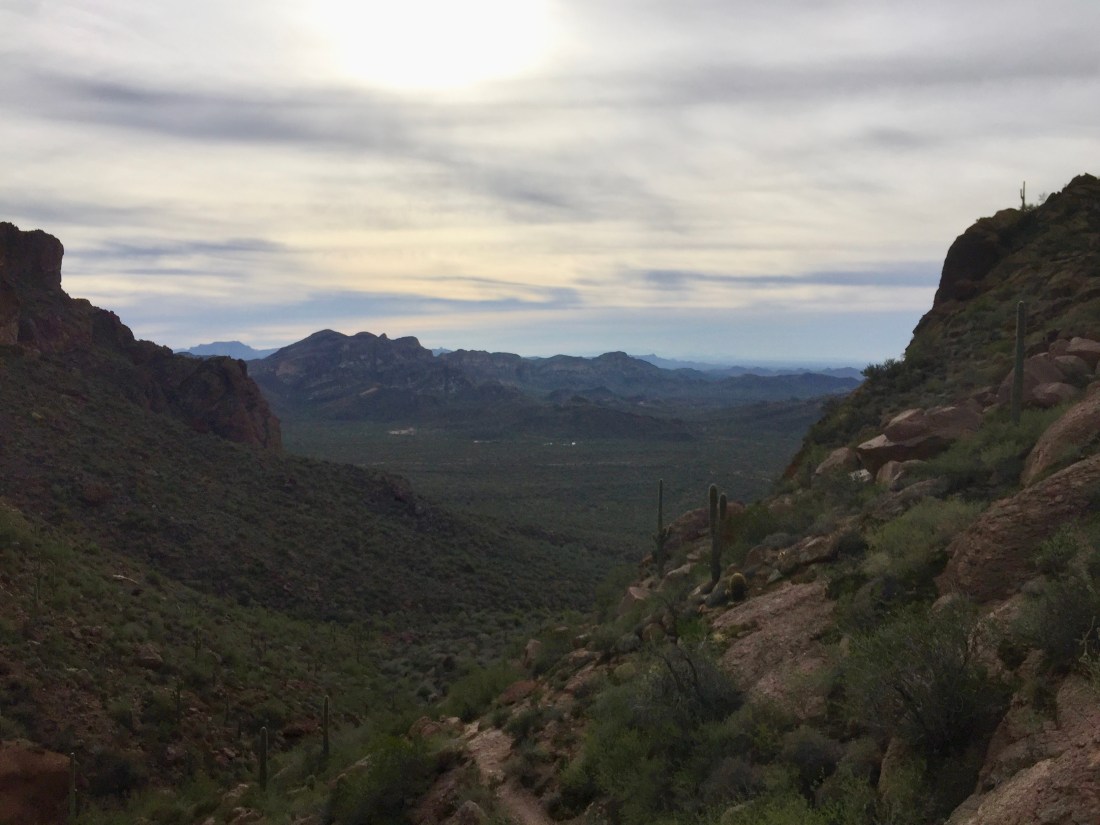
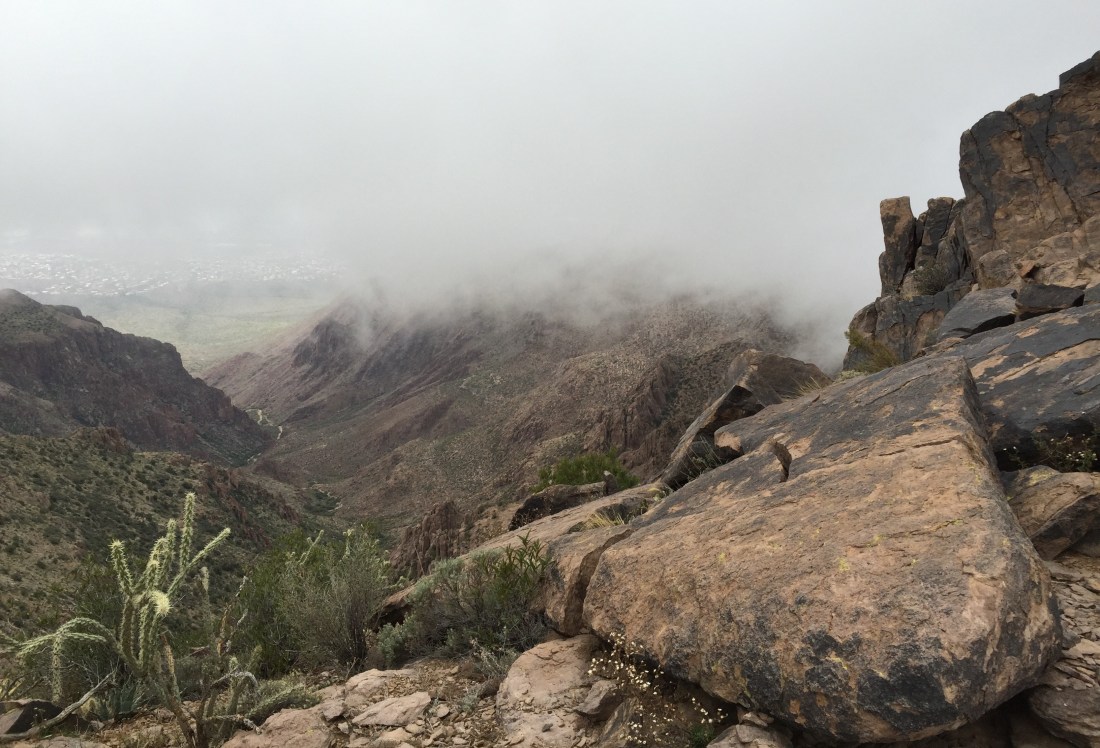
The Ridgeline trail has some of the most spectacular views of all the valley hiking trails. While you are hiking, you have views of the city on one side and on the other views of the Superstition wilderness. Not to mention cell service for most of the trail. And solitude, you will most likely be the only people up there. It is definitely strenuous and is rated as “Difficult” by most reviewers. However if you are up to the challenge, the trail can be very rewarding. In December, we witnessed clouds and mist streaming thorough the passes and brilliant sunrises and sunsets. It is beautiful, its just not easy…….

Here are some questions to ask yourself before you start planning:
Are you in great shape? This trail will kick your butt! You either climbing or descending, there is very little flat ground.
Do you mind carrying 5 liters of water for an overnight 12 1/2 mile hike? There is no dependable water on the trail.
Are you comfortable with rock scrambling while wearing a pack? You will descend several rocky chutes and come down the Siphon Draw.


Yes, that really is the trail, that rocky chute.
Time of year: This is Arizona, where the summer daytime temperatures can exceed 110 degrees. I have only attempted this hike in the winter. November to March are ideal times to hike. There is no shade on the trail so be prepared to be completely exposed the whole way. One other thing, it is always windy, always.
Water is a big consideration. The time we started the trail at Siphon Draw, I only brought 4 liters of water, hoping that there would be some in the seeps or basins on top. That was a Bad idea, there wasn’t any water. In fact none us of brought enough water that time. There is a seep in the canyon descending into Carney Springs but, it too was bone dry. We all spent the last 2 miles without any water, in the sun. Fortunately, we were able to contact our ride and they brought a flat of water with them. I remember my tongue sticking to the roof my mouth and me thinking how much of dufus I was. We weren’t in real danger but we were awfully close. The moral of this story is bring more water that you think you’ll need. I recommend bring 5 liters of water. I use “Smart Water” bottles. They weigh less than an ounce each and I use a hydration tube adapter so I don’t have to use bladders which are great until they leak and then they’re not so great.

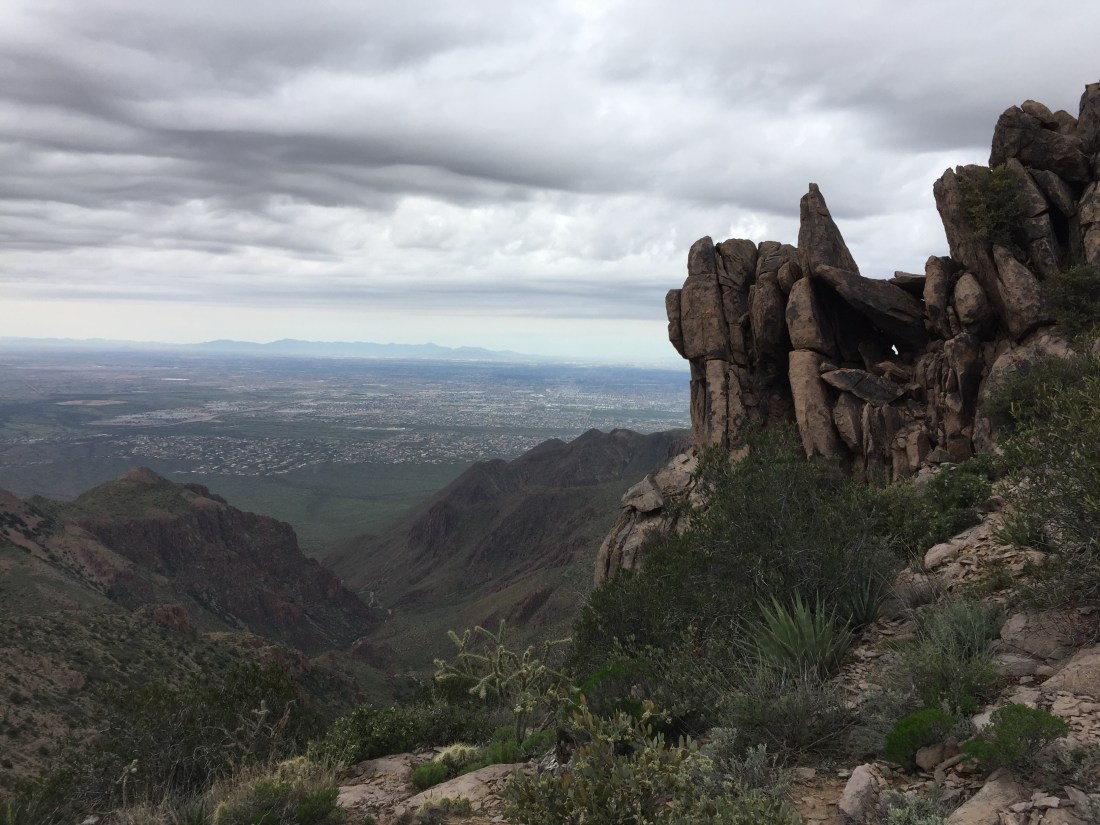
“HooDoos” Volcanic formations along the trail.
Getting Started:
The two trailheads are the Siphon Draw trailhead in Lost Dutchman State park on Highway 88 out of Apache Junction and the other is the Carney Springs trailhead on Road 77 outside of Gold Canyon on the way to the Peralta Trailhead. I have gone both directions and I can say that starting at Carney Springs is the way to go. Climbing up Siphon Draw with a pack is not fun and I wouldn’t do it again.
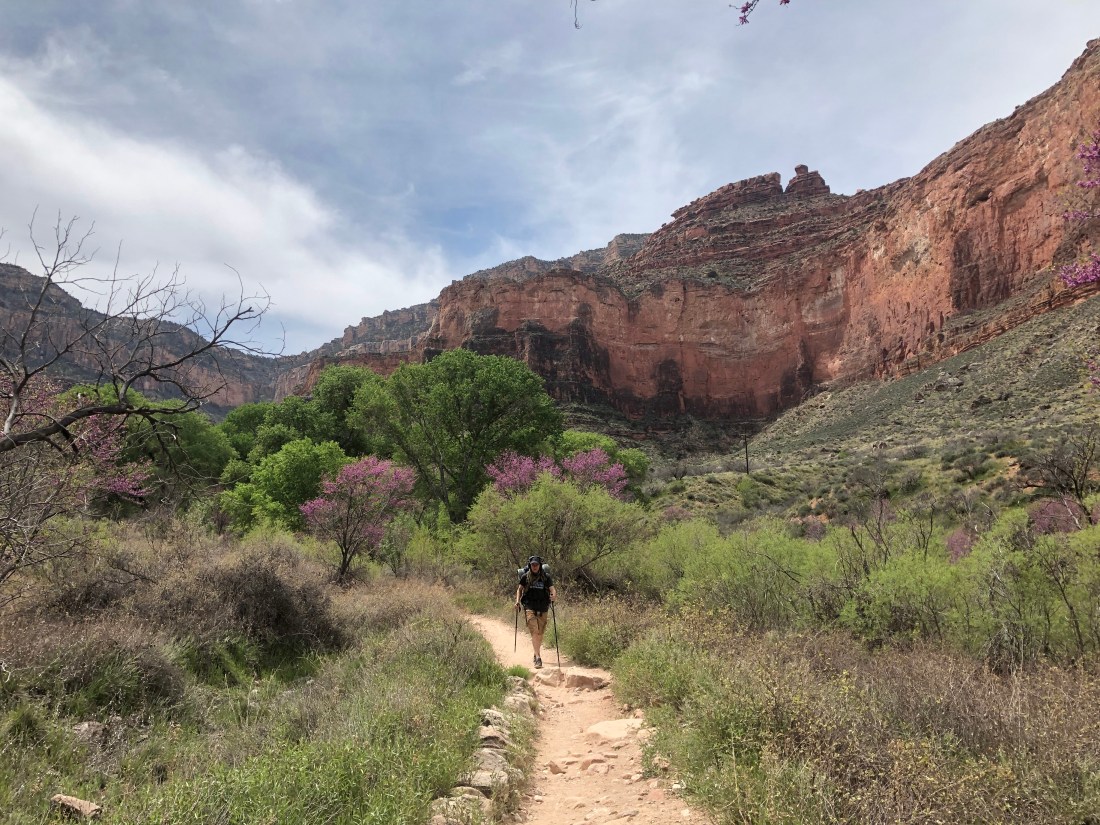
The path from Carney Springs is a long flat approach. After you cross the wire boundary fence you’ll begin to ascend. Make sure you pay attention to the trail, you should be in the middle of the ravine, it is easy to get side tracked on a spur trail that leads to a shallow cave. At this point you will begin to climb. Set a pace that is sustainable, because this what you will be doing for the rest of the day. The trail is well defined and gradually begins to get steeper. As you climb to the saddle there will be several places where it will be good to wear gloves. You’re not exactly rock scrambling but it gets quite steep and a little indefinite. Keep an eye out for a prominent rock out cropping, there is a nice flat rest spot behind and the trail gets better after that. Sit down and enjoy the view, you’ve earned it.
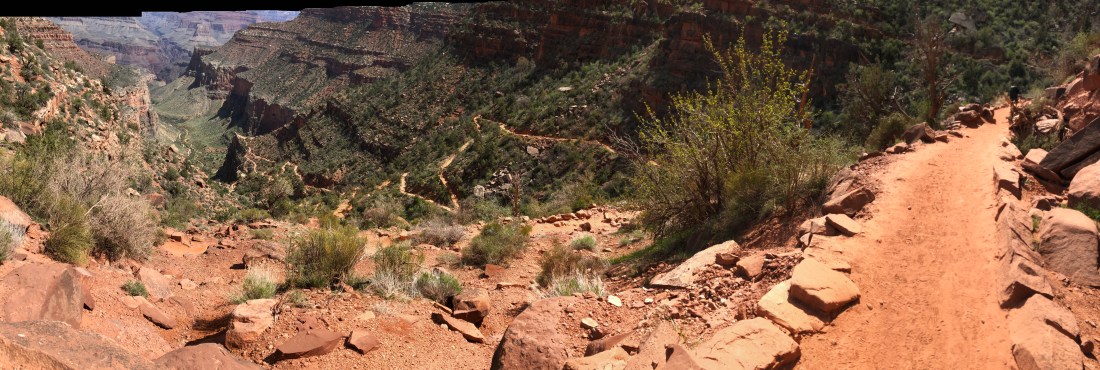
View down the canyon and Carney Springs Trailhead.
You will come to a saddle at the top of the climb and there should be a sign there. Go right for the Dacite Mesa Trail, straight ahead for the West Boulder trail and left to continue on the Ridgeline Trail. Trail flattens out here for a while. It will follow the terrain to the left, eventually opening up to a wide canyon. The trail becomes somewhat vague in this area so pay attention to the cairns. There are lots of cairns on this trail. (A cairn is a stack of rocks made by other hikers to mark the trail in rocky areas where the trail is not obvious) Make your way to the bottom the the valley. If there has been rain recently there will be water flowing through, it is a seep and not a spring and can not be relied on. I have seen it in both conditions so, if it’s flowing, by all means, tank up! But, don’t assume its going to be there.
The trail climbs out the valley in a bit of a serpentine route. You will begin to climb again. Always keep your eyes up the trail in this section, a friend of mine was plowing along with his head down and ran into an overhanging cactus arm! Luckily we had pliers with us and spent the next few minutes pulling spines out of his scalp. Argh! Trekking poles can help moving the more pesky cactus out of the way.
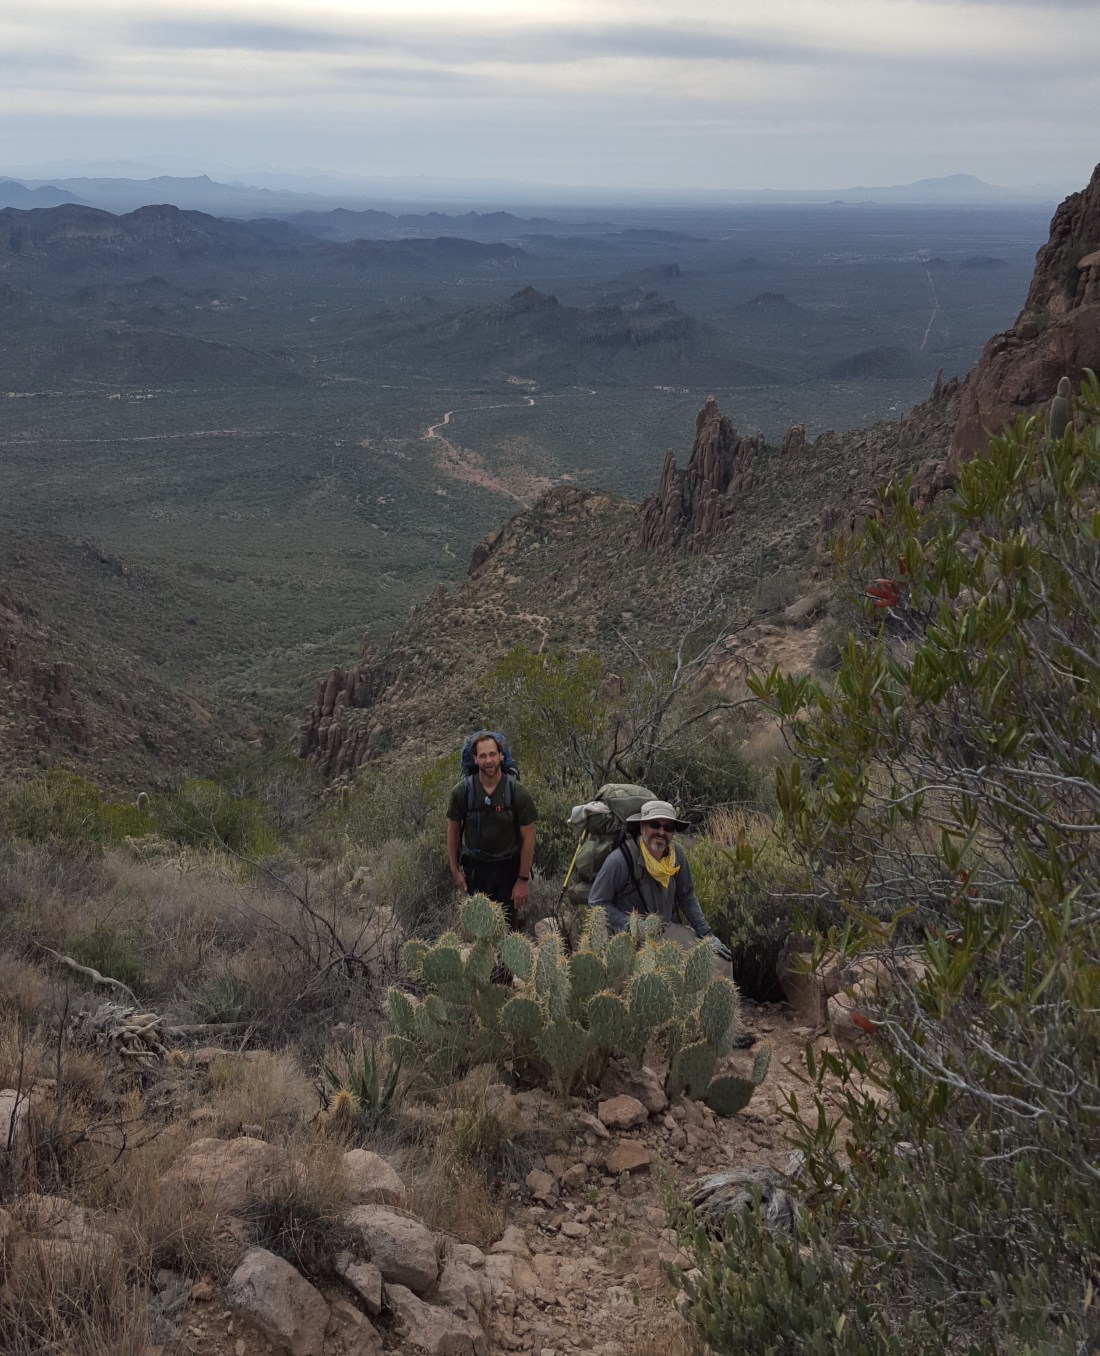
Please note the cactus on the side of the trail.
Continue climbing, the trail may branch to the right looking like it will skirt around the ridge summit, don’t take it! It branches multiple times and is very confusing (Or so I’ve been told). Continue straight up to the ridge. The best rule for this trail is when in doubt, follow the ridge! If you follow the the ridge, you won’t get off on some rabbit trail that just ends in the middle of a cactus patch and there are many.
The Ridgeline will run into the back of the summit mountain and will skirt around it’s back side. You will go around the back to the right and there will be some rock scrambling and chute climbing that will bring you back onto the ridge for a short while. Pay attention to the cairns! There will be a trail branching to the left that goes up to the summit. Stay right you are almost at the summit saddle! The trail has several branches in this area and you will be tired, so watch out, stay together and be mindful that there is a steep drop this area. As you round the summit you will come to a saddle.
Whew! You made it!
This is a good place to spend the night, it is clear and somewhat level and has had a fire ring in the past. Several times we have had everyone in the group carry one piece of wood so that we could have a fire and it has worked out well.
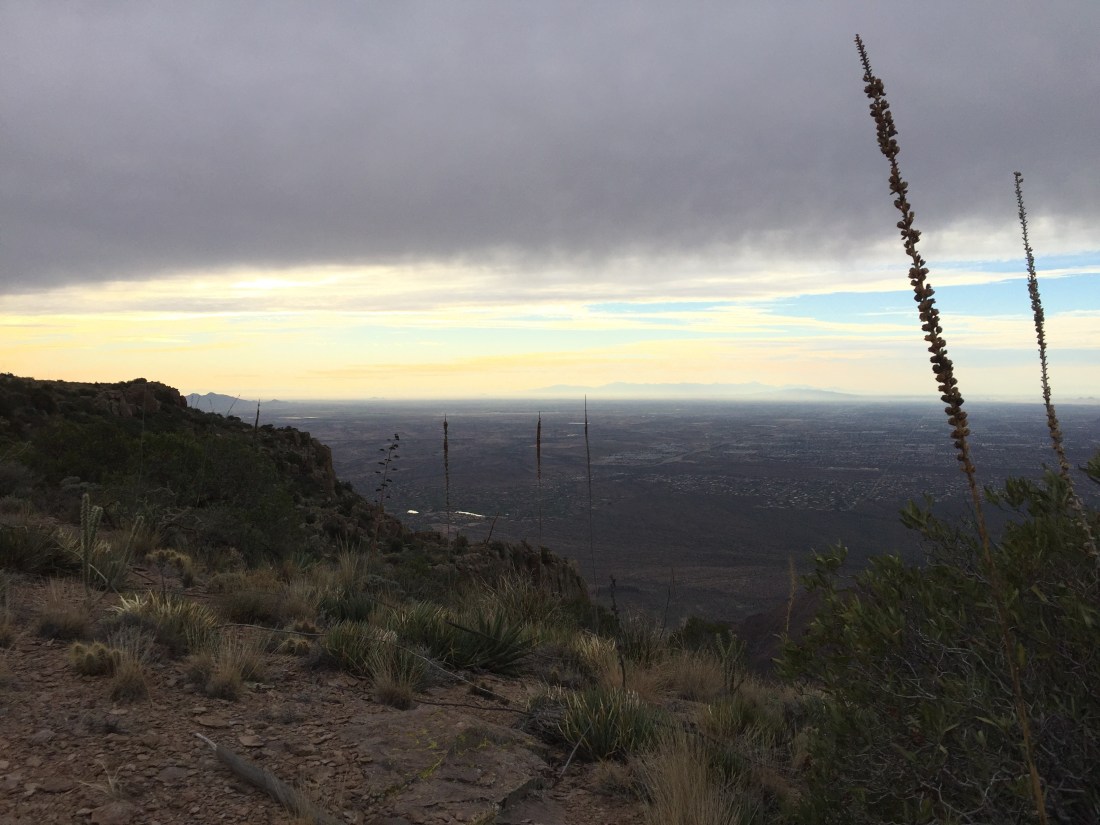
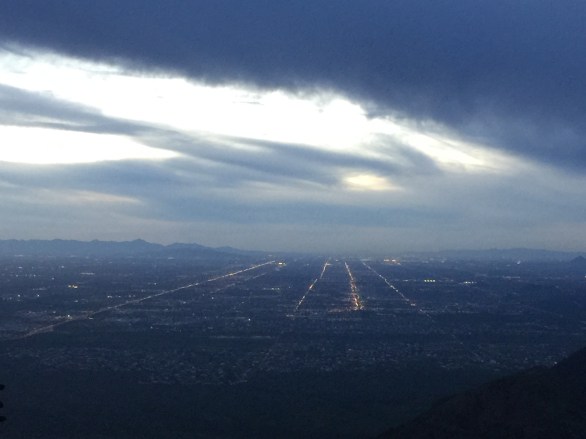
Summit Saddle, overlooking Apache Junction.
A note about staying overnight; bring a free standing tent or bivouac sack. The trail is all rock and there is no where to pound in stakes and it tends to get windy at night. We used large rocks for any guy lines. If it isn’t going to rain, I have used a Bug Bivy or left the rain fly at home and used my Big Agnes SL2 Rattle Snake tent. Arizona has lots of creepy crawlies and I don’t fancy sharing my sleeping bag with them! The stars are brilliant at night from this vantage point and watching them is a great way to fall asleep. Another hint: if there is a full moon out, bring an eye mask. I have been awakened in the middle of the night because the moon is so bright. There is no cover on the Ridgeline Trail and it comes shining through everything.
We left the Carney Springs Trailhead at 8:30am and it took us until 2:30 to reach the summit saddle. So about six hours for three middle aged men in good shape and one teenager. Not bad for climbing all day. I know that there are people who do the whole trail in a day but we wanted to enjoy the trip as much as possible, or at least enjoy the views when the trail isn’t kicking our butts!
High on the ridge the sun comes up early, time to eat breakfast and break camp. It was December and the morning was cool. The saddle is at 4800 feet so figure that the temps will be 10-15 degrees cooler than the valley. Also, it has snowed regularly in the Superstitions, so watch the weather forecast carefully before you go.
The next morning we were able to get packed up and out of camp by 8:00am. You will cover a lot more miles today and you don’t want to come down Siphon Draw in the dark. Exit the summit to the north and follow the trail around the Hoodoos. It will descend into some low shrubs and cactus. Watch for the cairns and the trail will lead you to a rocky chute. Descend the chute and near the bottom it stops about 8 feet from the trail floor. If you look to the right there is a chimney slot in the rock. Drop your pack down over the side and descend the chimney bracing yourself between the walls. Once you see it, you’ll know what to do. The trail goes to the left and down a steep descent to the next saddle. Be careful, there are several areas that traverse large flat slabs, it is essential to have shoes with good traction, otherwise you could go for a rough ride down the mountain.
The saddles along the route tend to direct and concentrate the wind from below, if its cold, its a good idea not to linger in these areas. It will less windy 50 feet away from these areas and feel warmer for a rest spot.
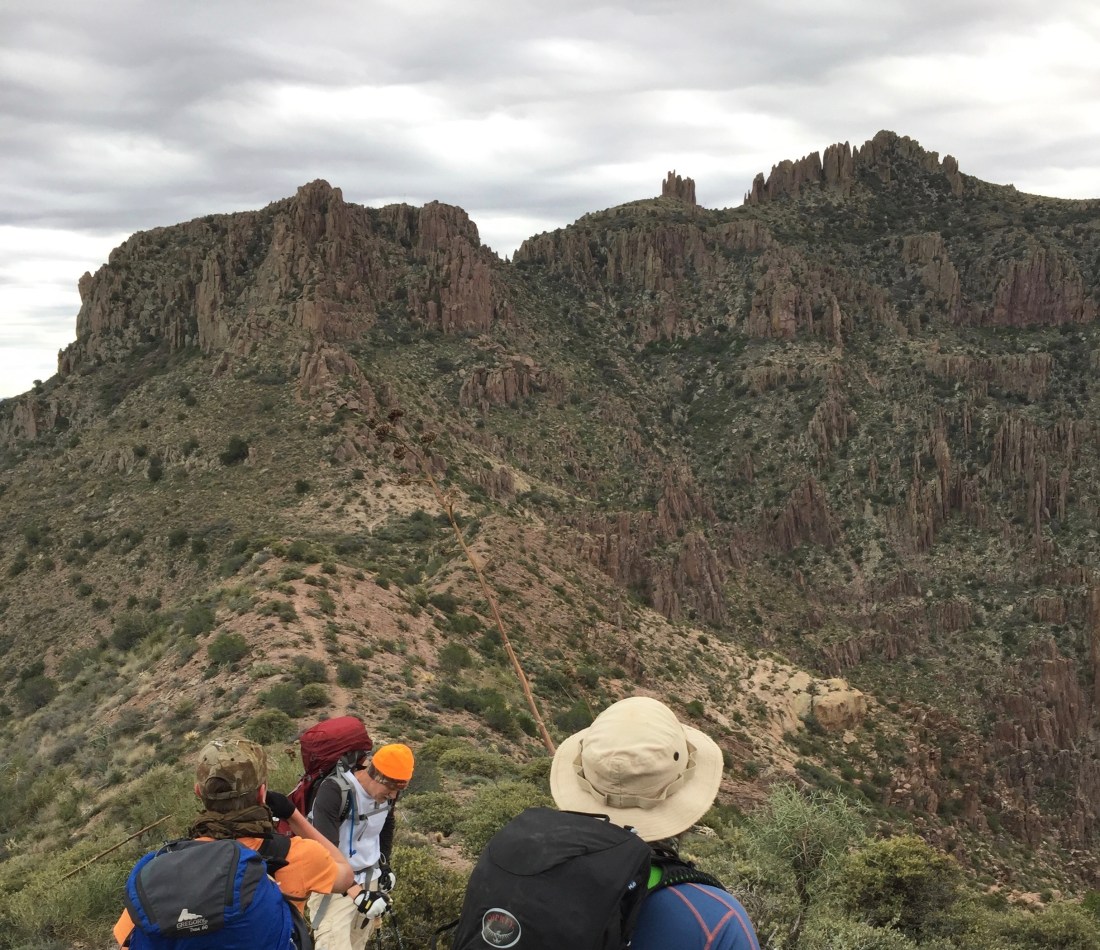
In the picture above, we are looking at where we spent the night. Our camp spot was in the gap between the small group of hoodoos and the larger group on the right. That was quite the walk down!
At this point you will be walking right along the ridge, there are still a few ups and downs, so be ready for it. You’ll have several peaks to walk over before it flattens out in the middle. There are several camp spots in the middle area that you can use if you are ahead of schedule or coming from the other direction.
Be aware there are several spots that you will come to a seeming dead end with a sheer vertical drop. Don’t assume that you have gone the wrong way. Look to the side and you will most likely see a cairn marking a trail down the side. This is one trail that you definitely need to pay attention to the cairns and have good route finding skills. The trail flattens out as you get closer to “The Flatiron”. This is the large outcropping that juts out from the mountain like the bow of a ship.
The trail curves around the back of the Flatiron area and around a steep canyon. Be careful, there are drop-offs of over 1000 feet in the area. In the back of the canyon as the trail curves towards the Flatiron, there are several valleys that have seeps in them, if it has been raining, they could have water in them. This is one the “wettest” parts of the trail. You will see an abundance of flora here compared to the rest of the trail. There are pine trees in this area. Not a lot, but they are here. There are also rock basins where water collects, don’t depend on them unless it has rained recently.

As the trail winds it’s way around the back of the Flatiron, there are several nice places to have lunch and a couple of camp spots. You will continue on through a saddle that leads to the top of Siphon Draw. This is a good place to drop your packs and take the trail to the left to the Flatiron. Go out as far as you dare, this is one of the best photo spots in the area. You can see all the way to Mount Lemon in the south by Tucson, the Four peaks to the north, the whole east valley and into Phoenix from here. Just don’t step off the edge while taking a selfie!
When you’ve had enough of the view, it’s time to go down. Go back to where you left your packs and get ready to climb down. The Top of Siphon Draw can look very intimidating , especially when you didn’t come up it. You have to climb for a few feet but, it isn’t nearly as steep after about 20 feet, it just looks bad from the beginning. Trust me, it gets better very quickly. Just take your time and check every tree branch before trusting it with your weight. Another advantage to this route is that at this point there will be lots of people around you to follow. Many will see your packs and ask you if you stayed the night and where you started from. When you tell them you slept on the summit and started at Carney Springs, their eyes will grow wide and you will be afforded temporary “trail rock star” status.
You really can’t get lost in this section, you are in a ravine and all you have to do is follow it down. The advice I have for this section is “take your time”. You are almost done and will be tired. Most accidents happen in descent. There will be a lot of weekend warriors in this area, just let them pass. The trail will gradually flatten out as you get closer to the Lost Dutchman State Park. Have your ride pick you up in the trailhead parking lot. The trail signs will lead you there.
At this point give yourself a slap on the back! You did the Ridgeline Trail, one of the hardest 12 1/2 miles in Arizona.